Android
The Android template from Codecanyon
The client written on Java and support Android 5.x and higher. After unpacking archive, go to Android/app folder where you will find the file google-services.json which should be replaced by our downloaded file.
Setup project with Android Studio
-
Download Android Studio if you still don't have it from here developer.android.com and follow installation instruction from page.
-
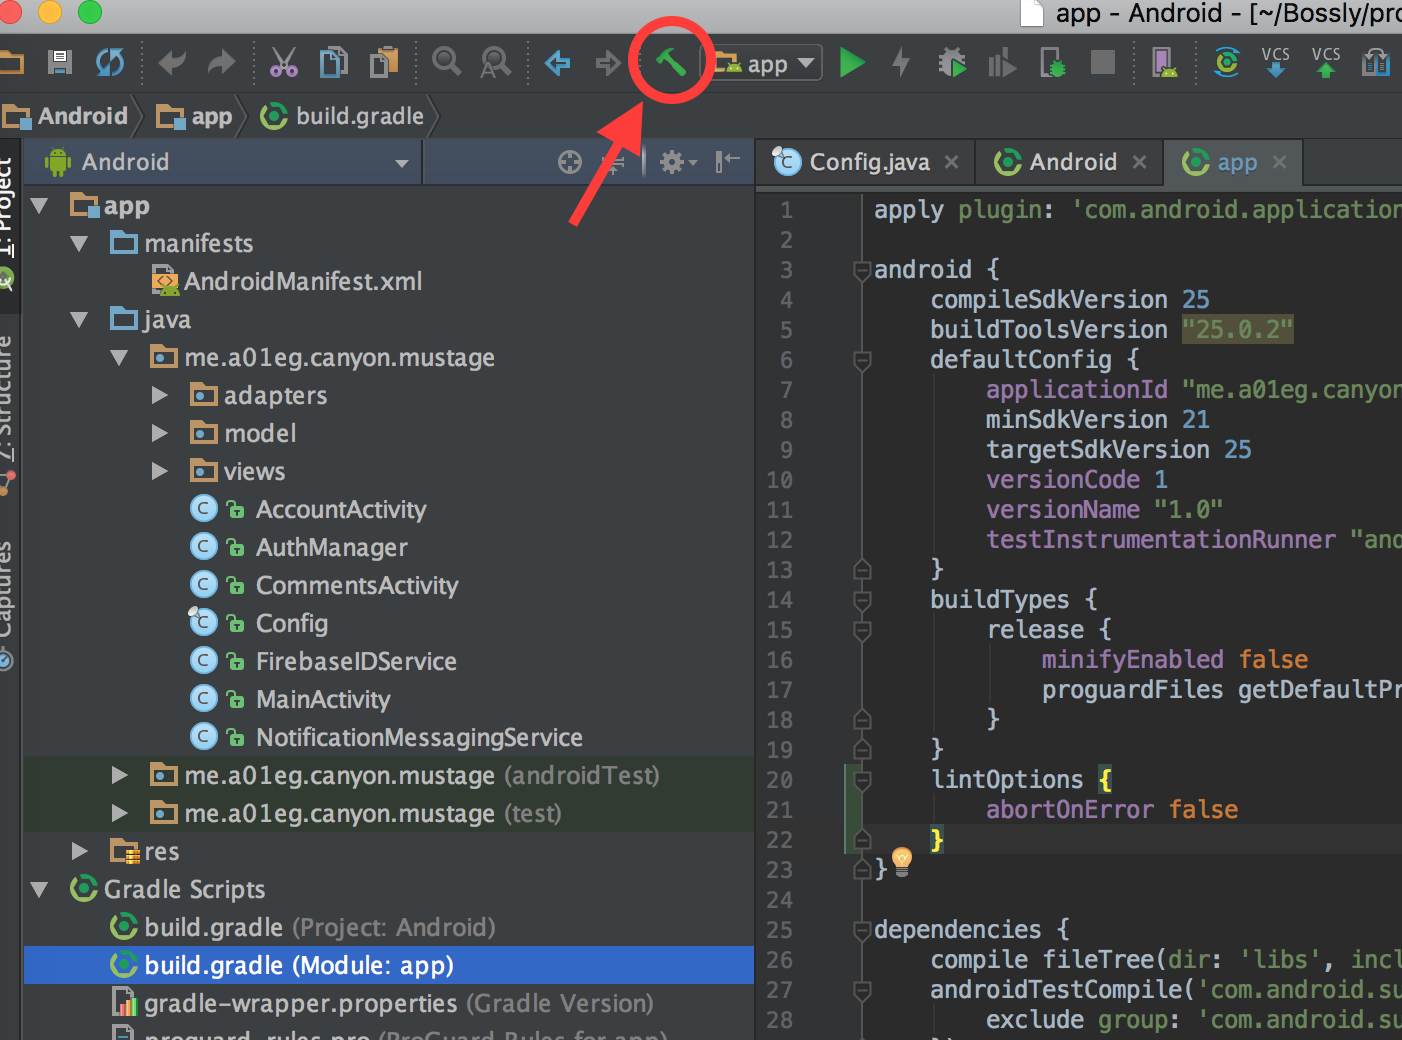
Run the Android Studio one open project (select root folder, example Android), this can take some time and press build icon. if you get errors while building, press 'fix ..' links that will download missed files
-
Change package name that you have choose in google-service.json in build build.gradle file
   ..
   android {
       defaultConfig {
           applicationId "me.a01eg.canyon.mustage"
   ..
Well done, now you can run your app on emulator (if there no available emulators to start, please follow instruction how to add virtual device emulator) or connected device via USB.
Setup Authorization
To customize authorization screen - check file AuthManager.java:48 and uncomment providers you want to use.
Admob Banner
To enable AdMob banner on the top of the feed, change the value in res/xml/config_default.xml to:
<entry>
    <key>admob_enabled</key>
    <value>true</value>
</entry>
(you also can change this value in Firebase Remote Config, that allows to to update app without re-submitting to Store).
and update the values in res/values/config.xml
<!-- AdMob -->
<string name="admob_app_id" translatable="false">here's your app id</string>
<string name="admob_banner_unit_id" translatable="false">banner Unit Id</string>
with your id from Admob website
Uploading source
For changing the source for uploading from Library you need to change the file MainActivity.java
To change source, simply call the relative method in
// HomeActivity.java line:207
// AccountFragment.java line:303

  MediaUtils.openLibrary(..);
   // or
  MediaUtils.openCamera(..);
So you will get your image for uploading here (as example):
void onActivityResult(int requestCode, int resultCode, Intent data) {
  switch (requestCode) {
    case MediaUtils.REQUEST_IMAGE_CAPTURE: {
      final UploadTask task = MediaUtils.handleImageCapture(data) // for camera
    }
    case MediaUtils.REQUEST_IMAGE_PICK: {
      final UploadTask task = MediaUtils.handleImagePick(this, data); // for library
    }
  }

  task.addOnSuccessListener((taskSnapshot) -> {
    Uri downloadUrl = taskSnapshot.getDownloadUrl();
    ..
  }
}
The downloadUrl is url to your file stored in Firebase Storage.
More setting can be found in utils/Config.java, res/xml/config_default.xml, res/values/config.xml
To customize the project you can use the Config file which provide most of the constants used in the app
Prepare to Deploy
Before publishing be sure to set email and eula url in res/values/config.xml file.
<string name="report_email" translatable="false">your_email@mail.com</string>
<string name="eula" translatable="false">https://termsfeed.com/eula/generator/</string>
<string name="privacy_policy" translatable="false">https://termsfeed.com/eula/generator/</string>
To Deploy you app to Google Play you need to compile it to .apk file and sign. More details about sign process you can find on GooglePlay Publishing